Appearance
Creating Apps
How to Create Your First App
- Click the App Builder icon on the plugin toolbar.
- Select the Create New App icon (located in the upper-right corner of the page).
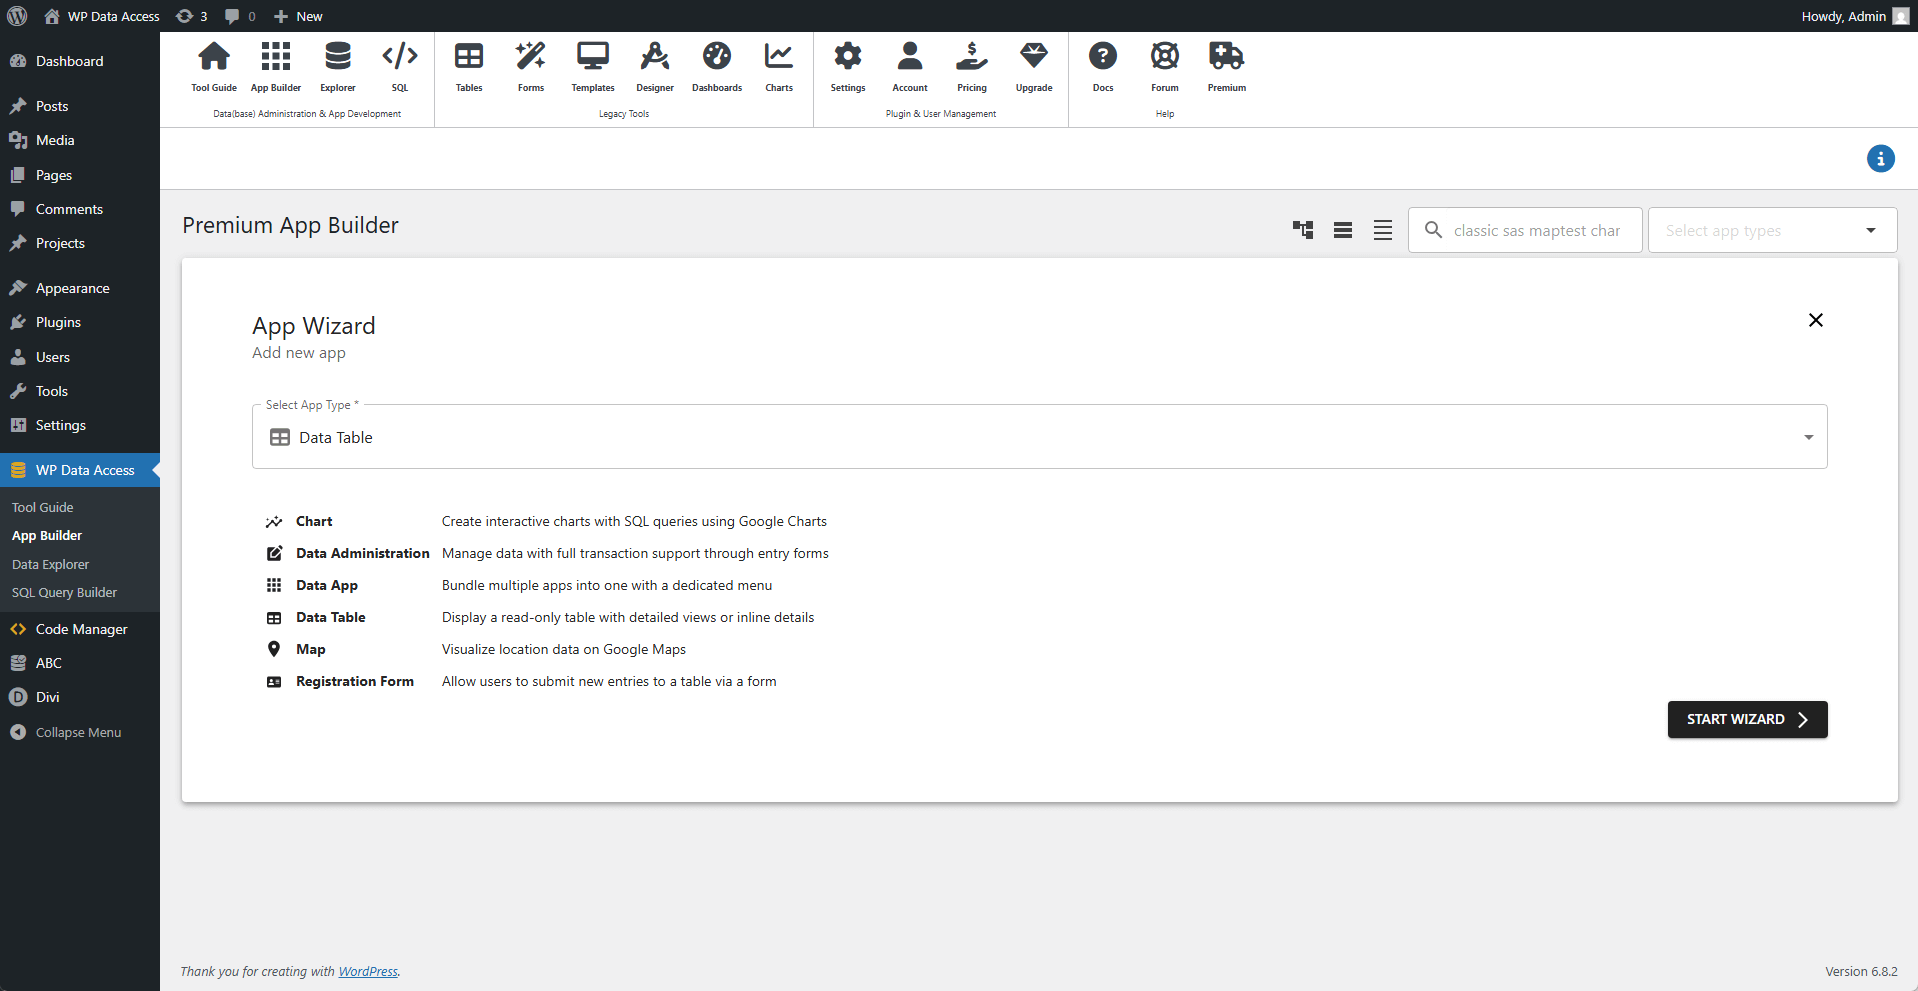
App Wizard
Select Your App Type
The wizard begins by prompting you to choose an app type. Choose an app type and click the START WIZARD button to proceed.
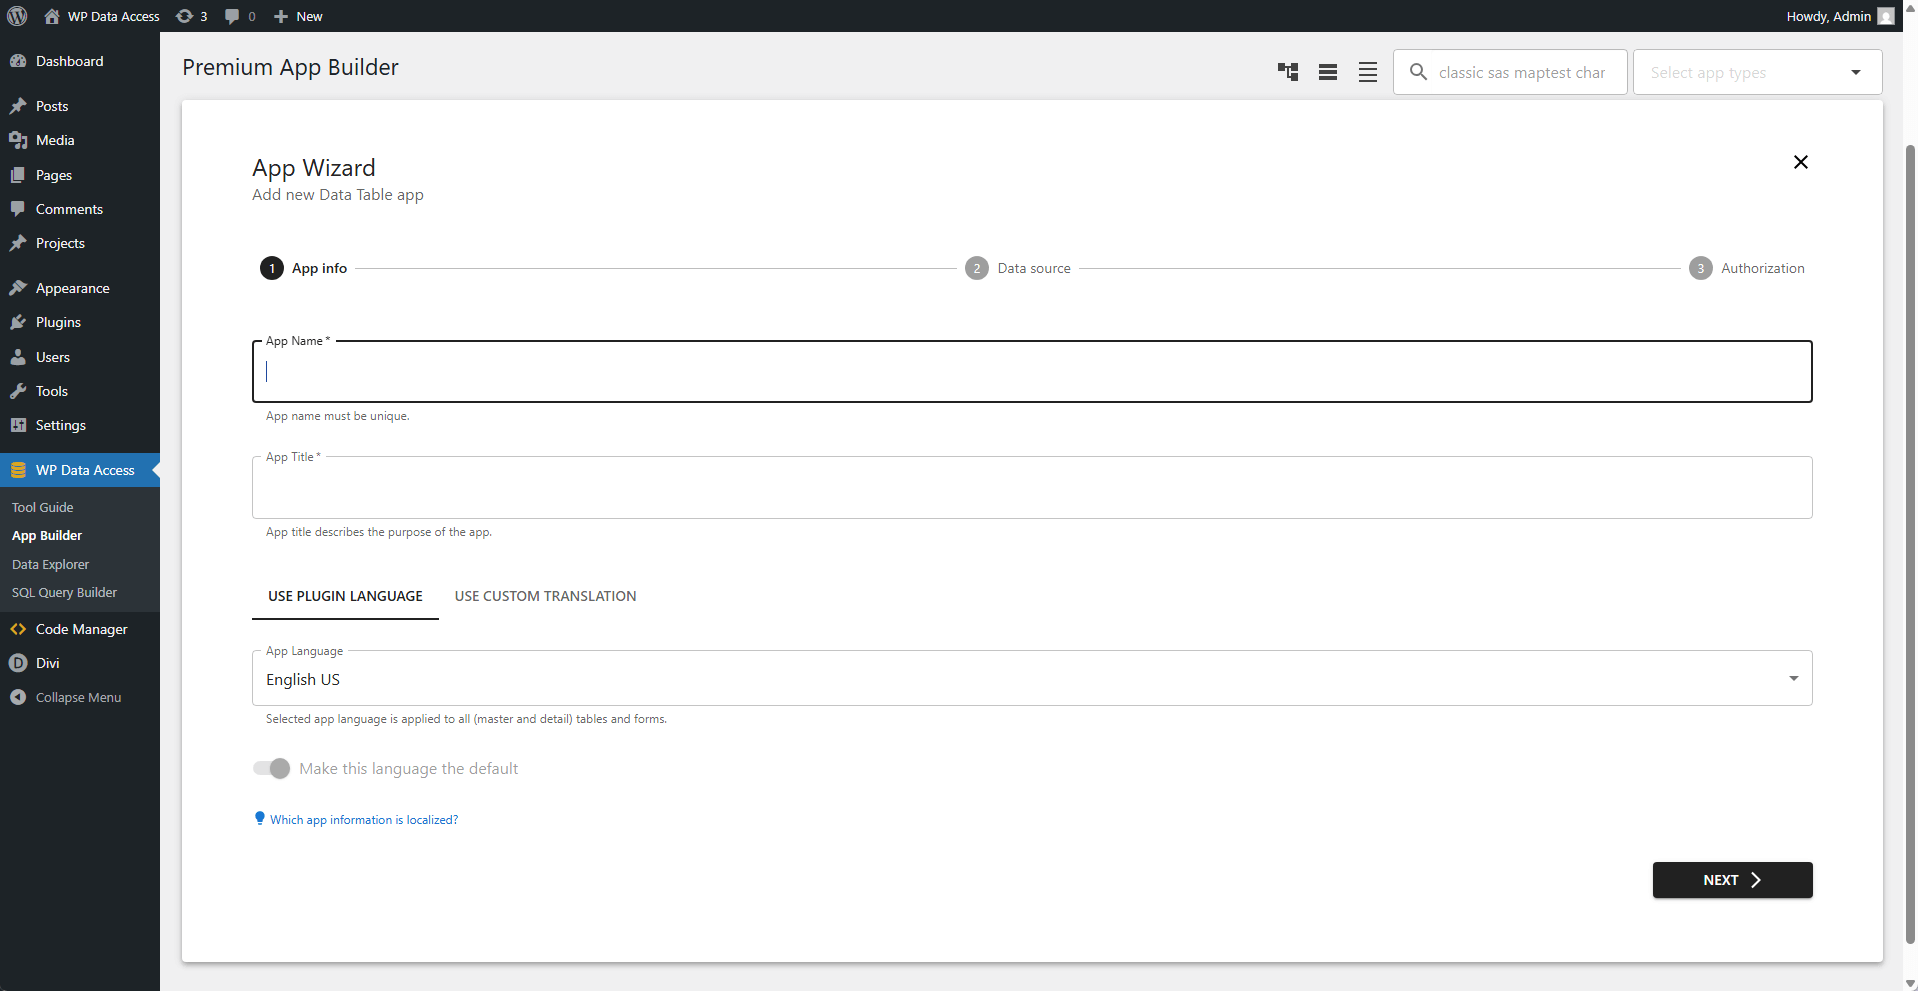
Step 1 - App Info
Configure basic settings for your app.
🏷️ App Name
- The unique identifier for your app.
- Example: my_awesome_app (must be distinct across the platform).
✨ App Title
- The display title that describes your app.
- Shown as the table title in the UI.
- Example: Customer Management Portal.
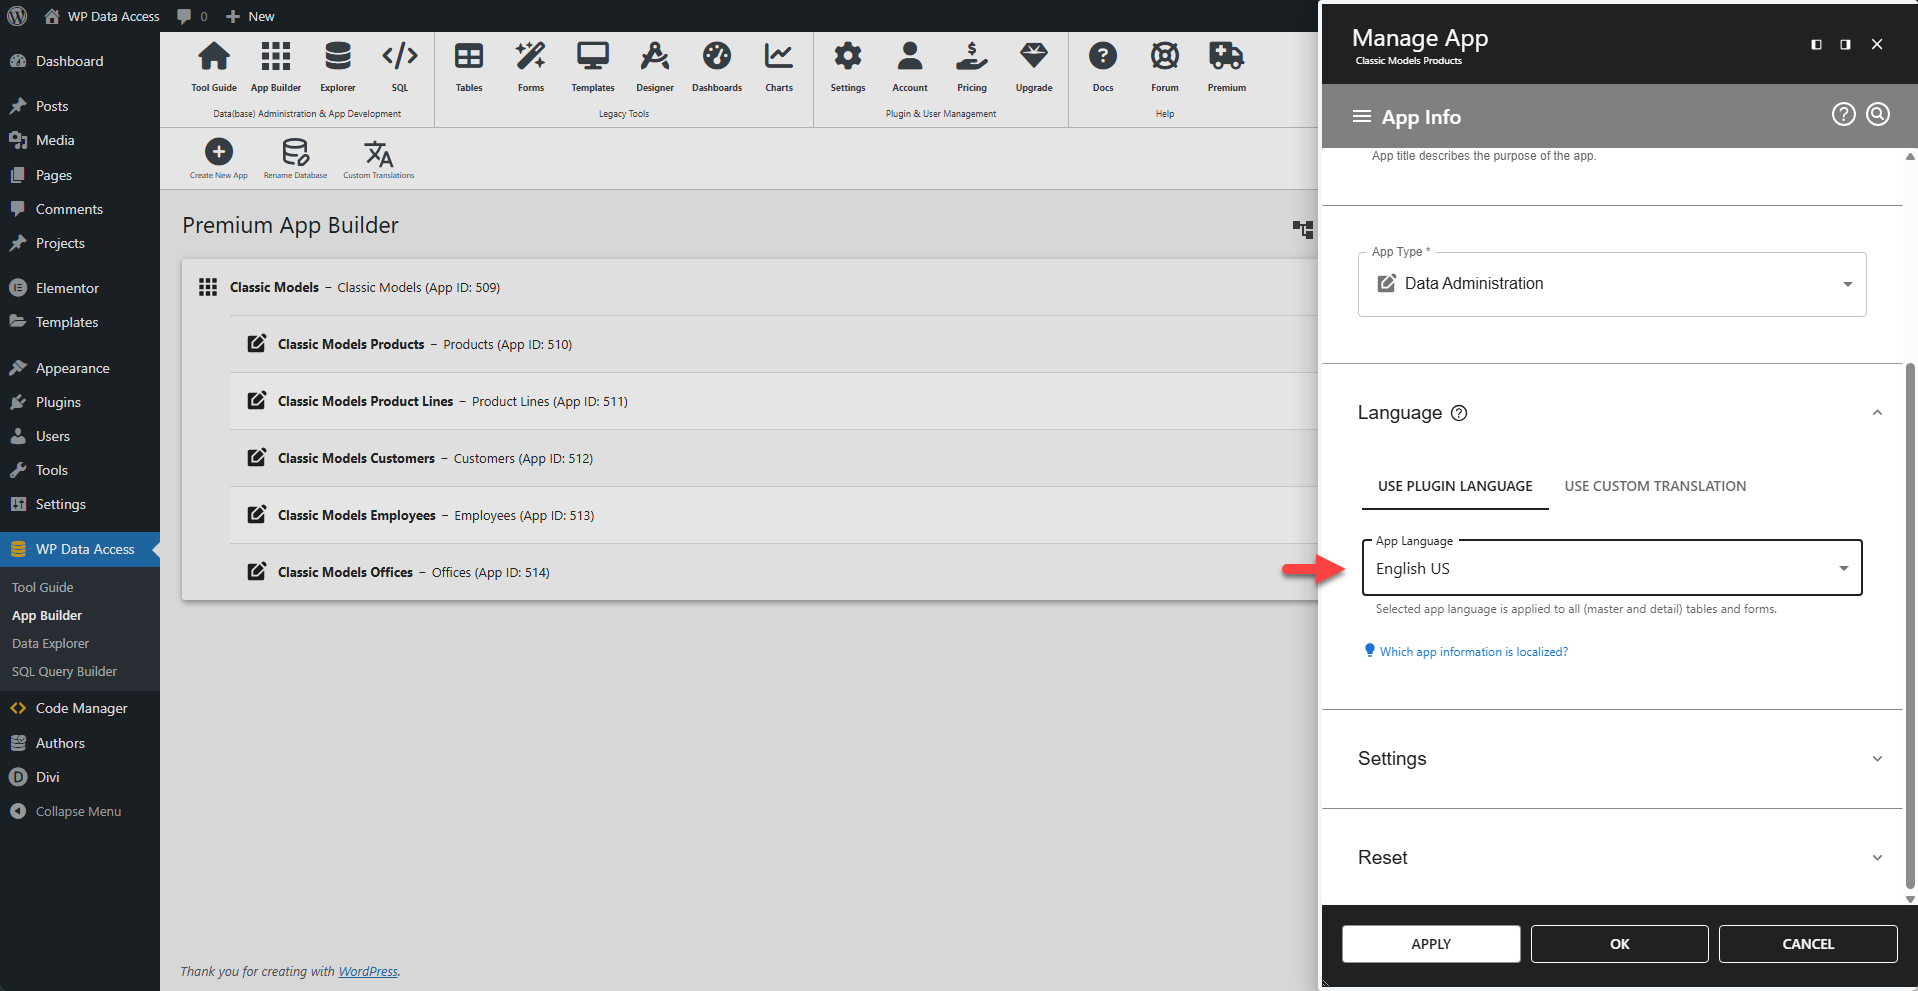
🌐 App Language
- Sets the default language for all UI elements and APP messages.
- Affects date and number formats.
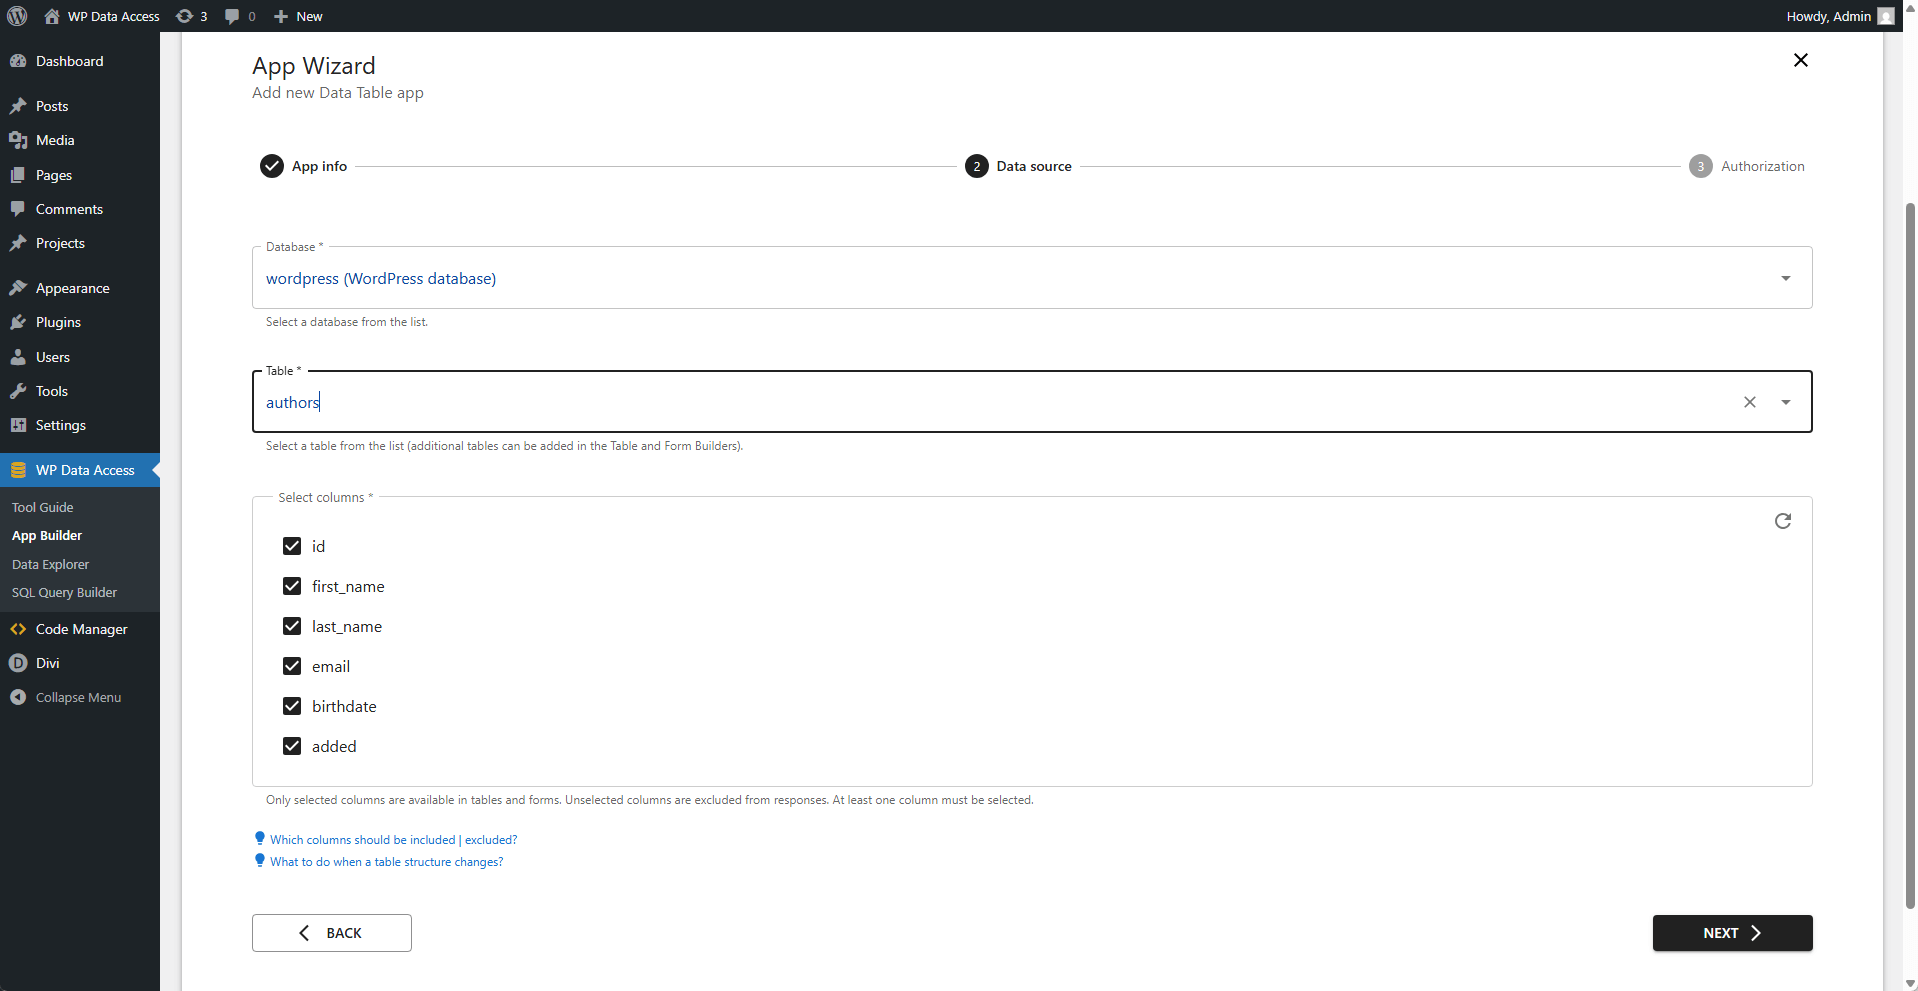
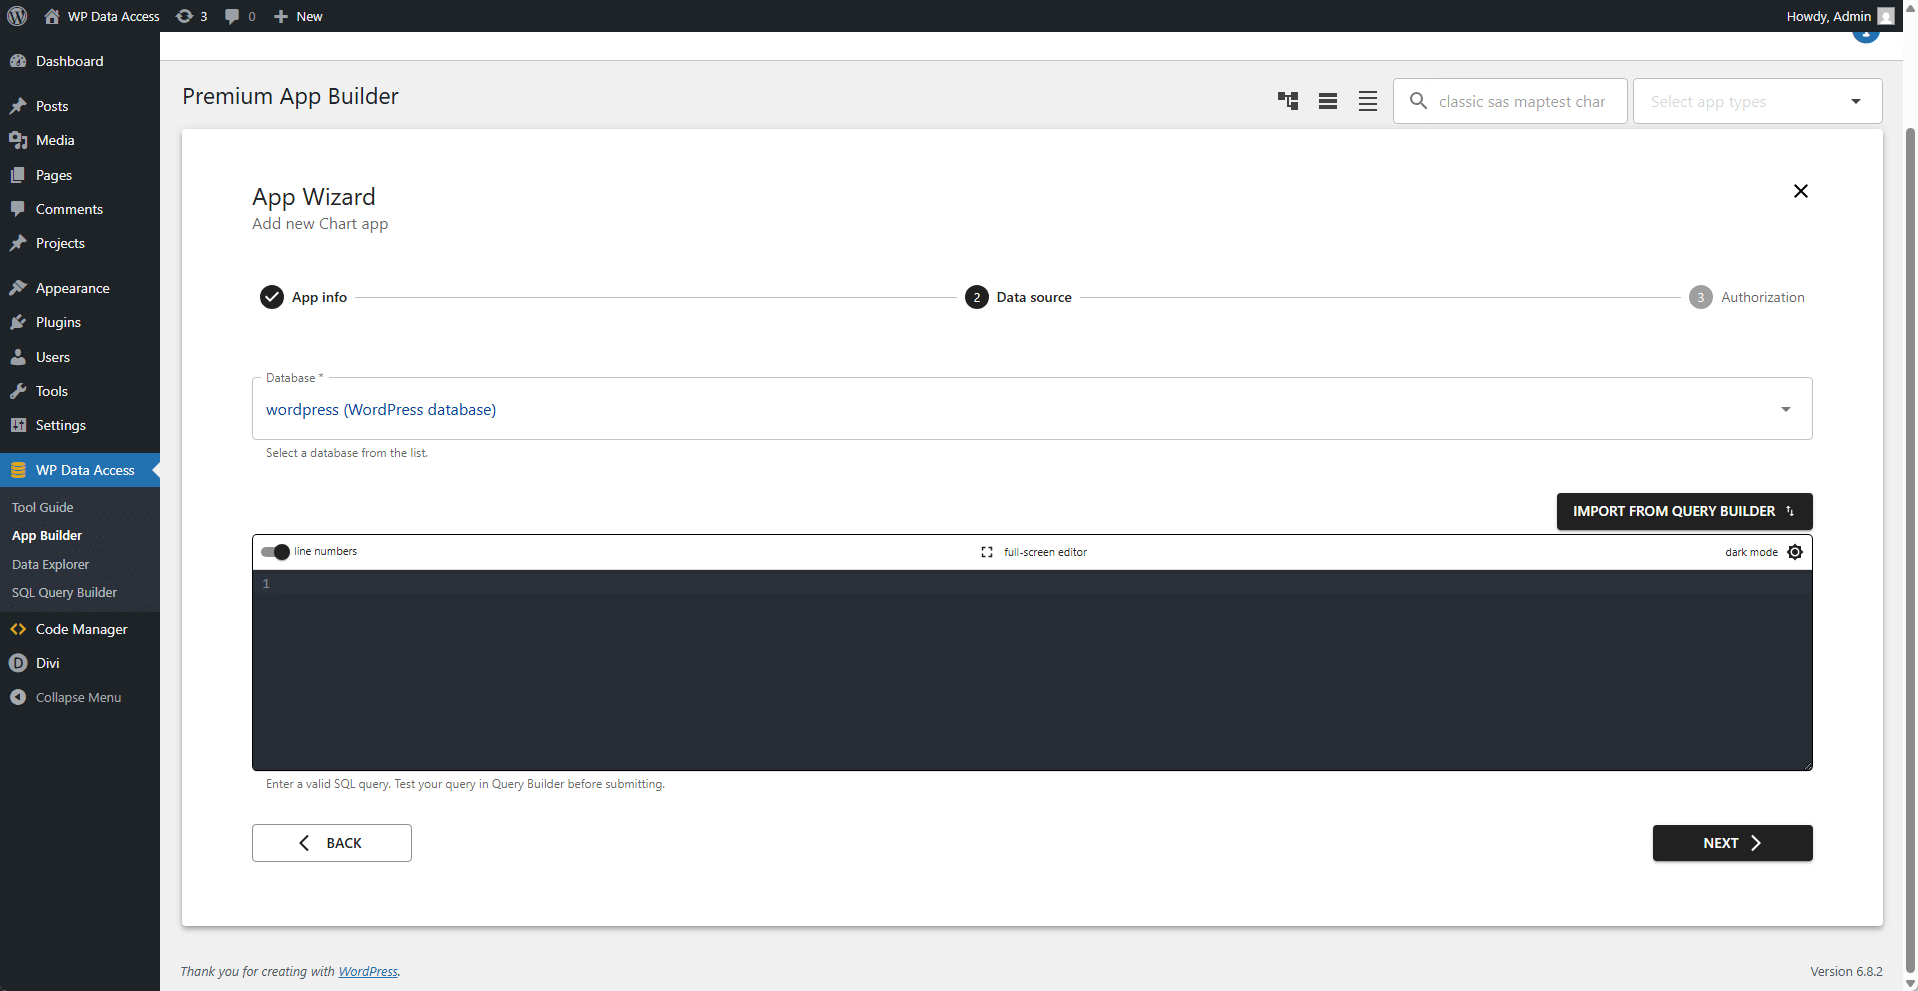
Step 2 - Data Source | Apps
Configuration varies by app type.
For Data Tables, Data Administration and Registration Forms
🔍 Database
- Select the database where your table is located.
- The dropdown updates dynamically based on available connections.
📊 Table Name
- The primary data source for your app.
- Real-time updates: The table list refreshes automatically when you switch databases.
🗂️ Select Columns
- After choosing a table:
- Columns populate in real-time (all selected by default).
- Deselect to exclude columns upfront.
- Flexibility Columns can also be hidden later during app building.
For Data Apps
📱 Apps
- Add apps in your preferred menu order.
- The first app loads by default.

For Charts
🔍 Database
- Select the database where your table is located.
- The dropdown updates dynamically based on available connections.
📊 SQL Query
- Requires a valid SQL query. (read more...)
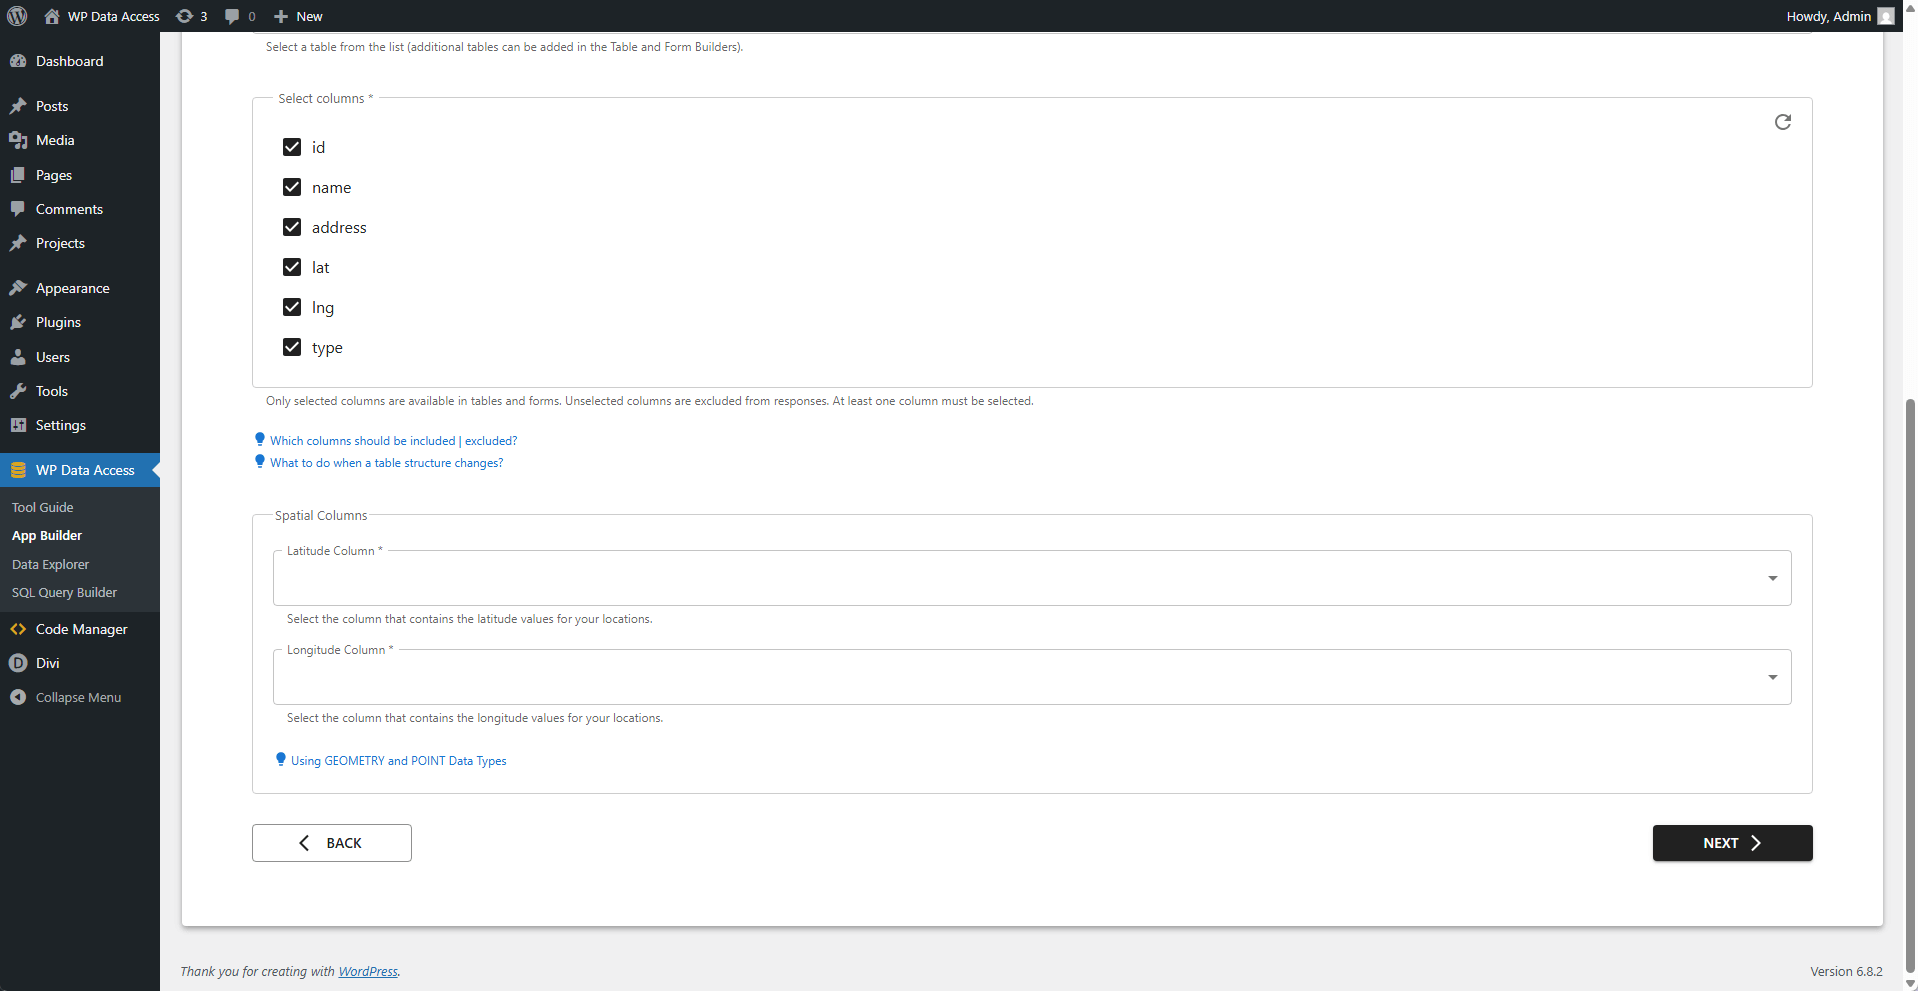
For Maps
🔍 Database
- Select the database where your table is located.
- The dropdown updates dynamically based on available connections.
📊 Table Name
- The primary data source for your app.
- Real-time updates: The table list refreshes automatically when you switch databases.
🗂️ Select Columns
- After choosing a table:
- Columns populate in real-time (all selected by default).
- Deselect to exclude columns upfront.
- Flexibility Columns can also be hidden later during app building.
🌎 Special Columns
- Specify latitude/longitude columns.
- For GEOMETRY/POINT types, enter the same column twice.
For Dashboards
Step 2 does not exist for dashboards.
Step 3 - Access
Configure which users are allowed to use the app.
🌐 Access Scope
- Applies to both back-end and front-end:
- Back-end: Restricted to registered users only.
- Front-end:
- 📋 Data Table Apps: Typically allow anonymous access (public viewing).
- 📝 Data Administration Apps: Usually require authorization to prevent unauthorized edits.
🔒 Authorized Access Only
- Who can access?
- Logged-in users with specified roles.
- Explicitly selected users.
🌍 Anonymous Access
- Who can access?
- All users (logged-in and logged-out).
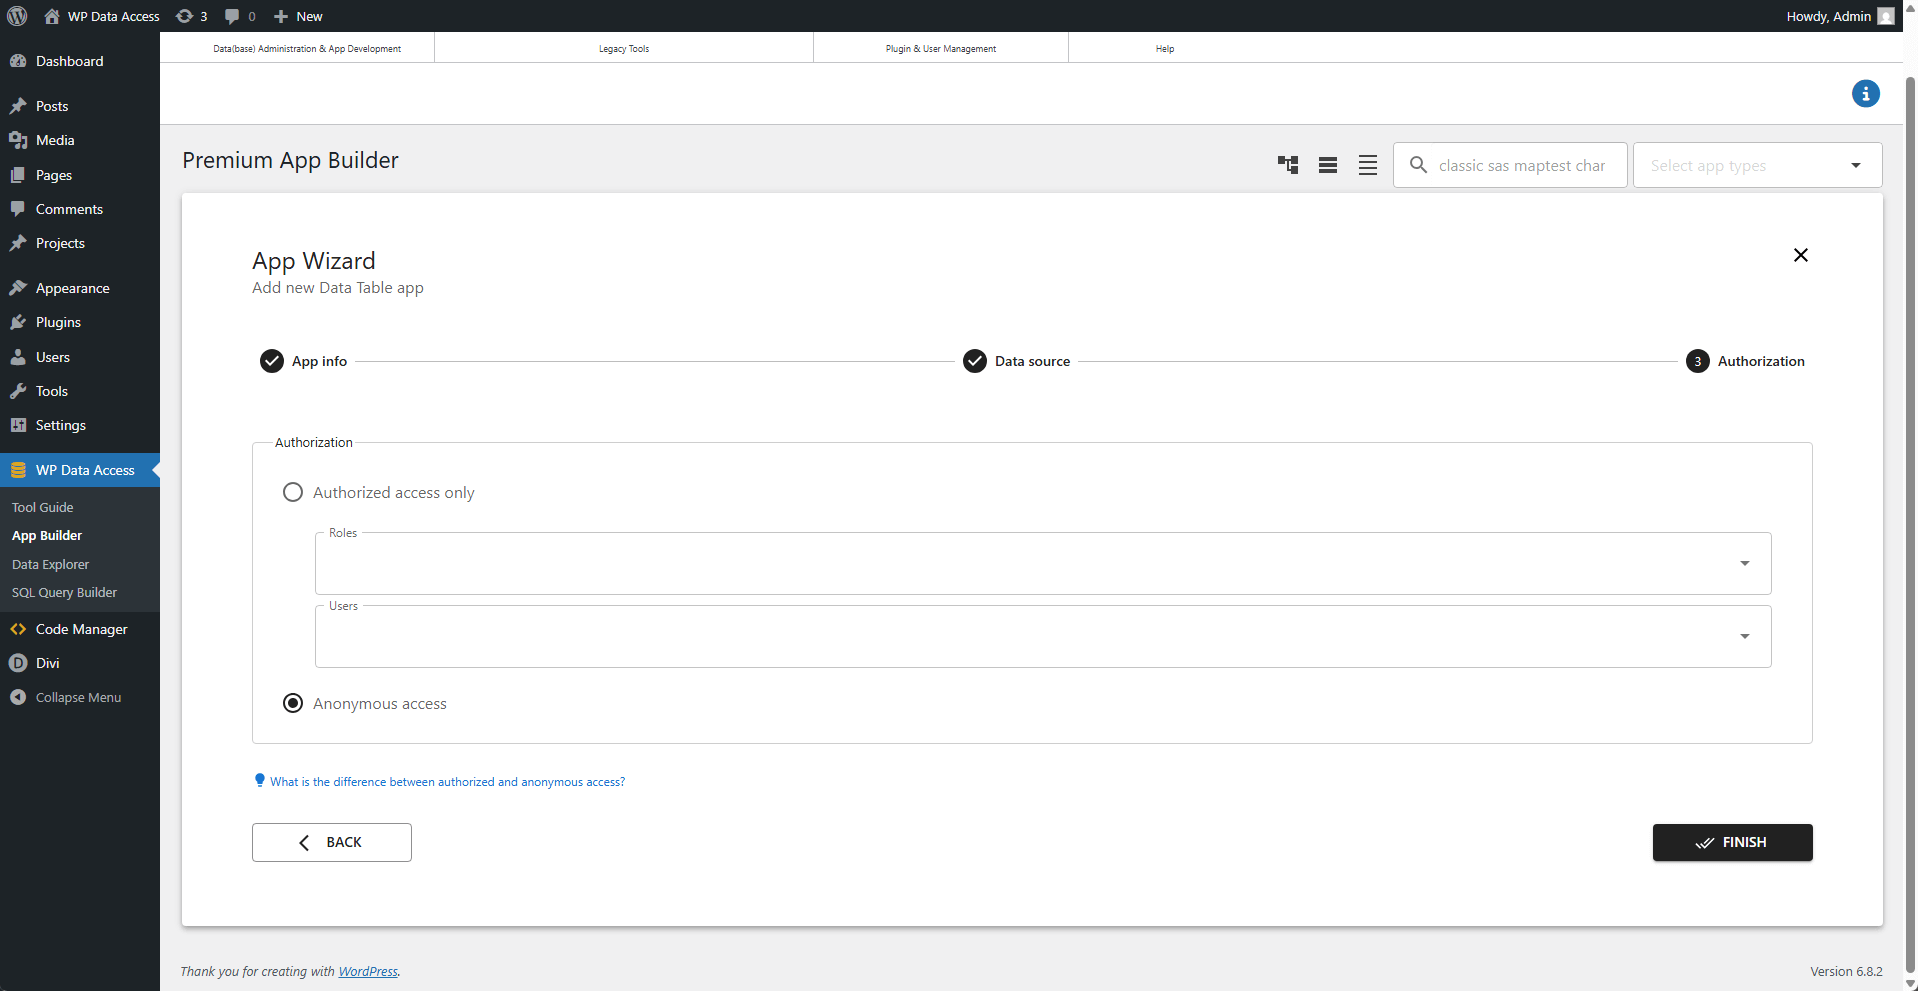
Finish
Click ✅ Finish to complete setup.